Comment ajuster vos images et les redimensionner pour n’importe quelle plateforme (Guide 2026)
Table des matières
Pour ajuster vos images et les redimensionner efficacement en 2026, utilisez des outils gratuits basés sur le navigateur comme CapCut ou BIRME pour des résultats instantanés. Pour des ajustements hors ligne rapides, les applications intégrées comme Aperçu Mac (Outils > Ajuster la taille) ou Windows Photos fonctionnent bien. Verrouillez toujours le rapport d’aspect pour éviter l’étirement et exportez en WebP ou JPG pour maintenir des performances rapides du site.
Comment ajuster vos images et les redimensionner : un cadre étape par étape
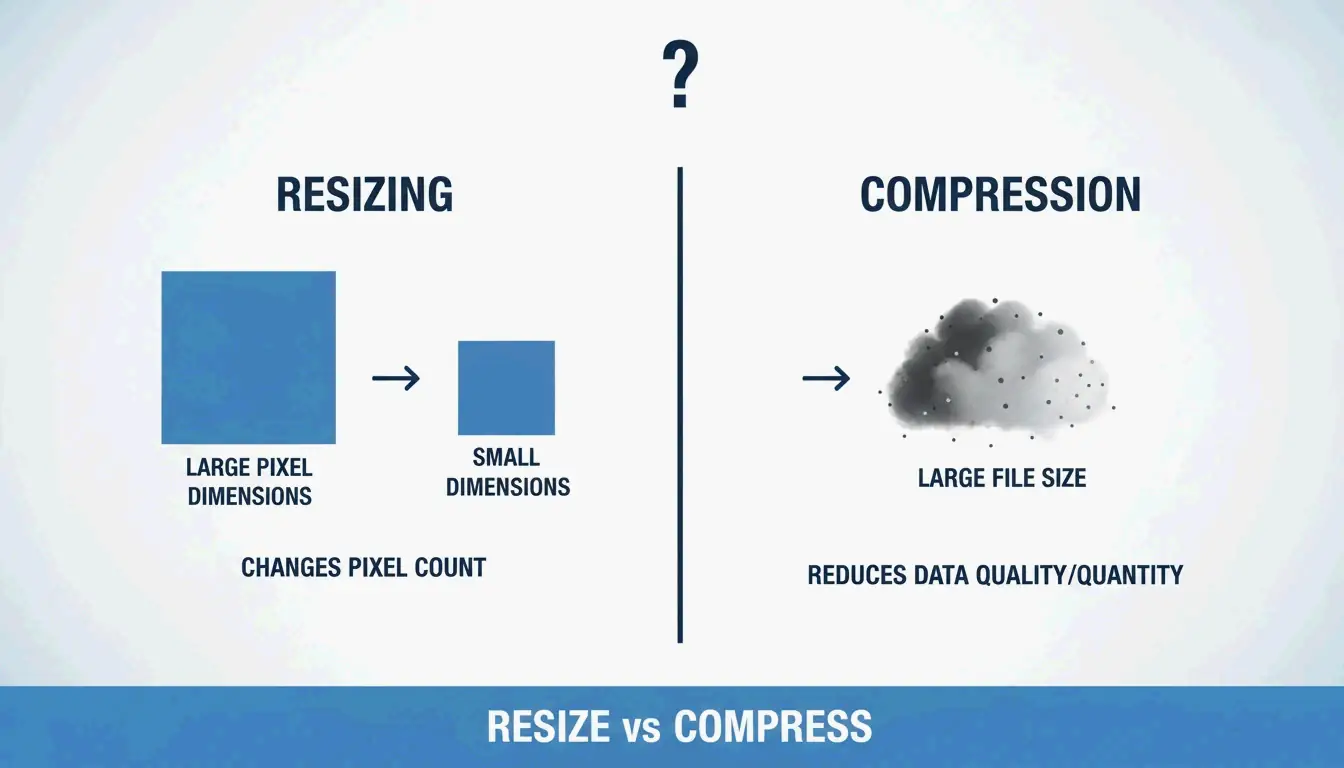
Comprendre ce qui se passe lorsque vous modifiez un fichier est essentiel avant de commencer. Le « redimensionnement » modifie les dimensions réelles en pixels — la largeur et la hauteur. Cela diffère de la « compression », qui réduit la taille du fichier (Mo/Ko) en supprimant les données redondantes sans modifier les dimensions physiques de l’image.
Comme le note Private Convert, redimensionner une photo haute résolution de 4000x3000px (environ 6MB) à 1200px de large peut réduire la taille du fichier à 300-700KB — idéal pour une utilisation sur le web sans compromettre les performances de chargement de la page.
Verrouiller le rapport d’aspect : la règle d’or
L’erreur la plus courante lors du redimensionnement est d’ignorer le rapport d’aspect — la relation entre la largeur et la hauteur. Forcer une photo large 16:9 dans un carré 1:1 sans recadrage écrasera ou étirera de manière dénaturée votre sujet. La plupart des outils affichent une petite icône « cadenas » ou « chaîne ». Gardez-la active afin que le logiciel calcule automatiquement la hauteur lorsque vous modifiez la largeur (ou inversement).
Redimensionnement rapide sur Windows et macOS (sans application requise)
| Plateforme | Méthode | Étapes |
|---|---|---|
| Windows | Application Photos | Ouvrir l’image > menu à trois points > « Redimensionner l’image » |
| macOS | Aperçu | Ouvrir le fichier > Outils > Ajuster la taille > cocher « Mettre à l’échelle proportionnellement » |
Private Convert recommande de sélectionner plusieurs photos dans Finder et de les ouvrir simultanément dans Aperçu pour appliquer un redimensionnement par lot à tout un groupe.
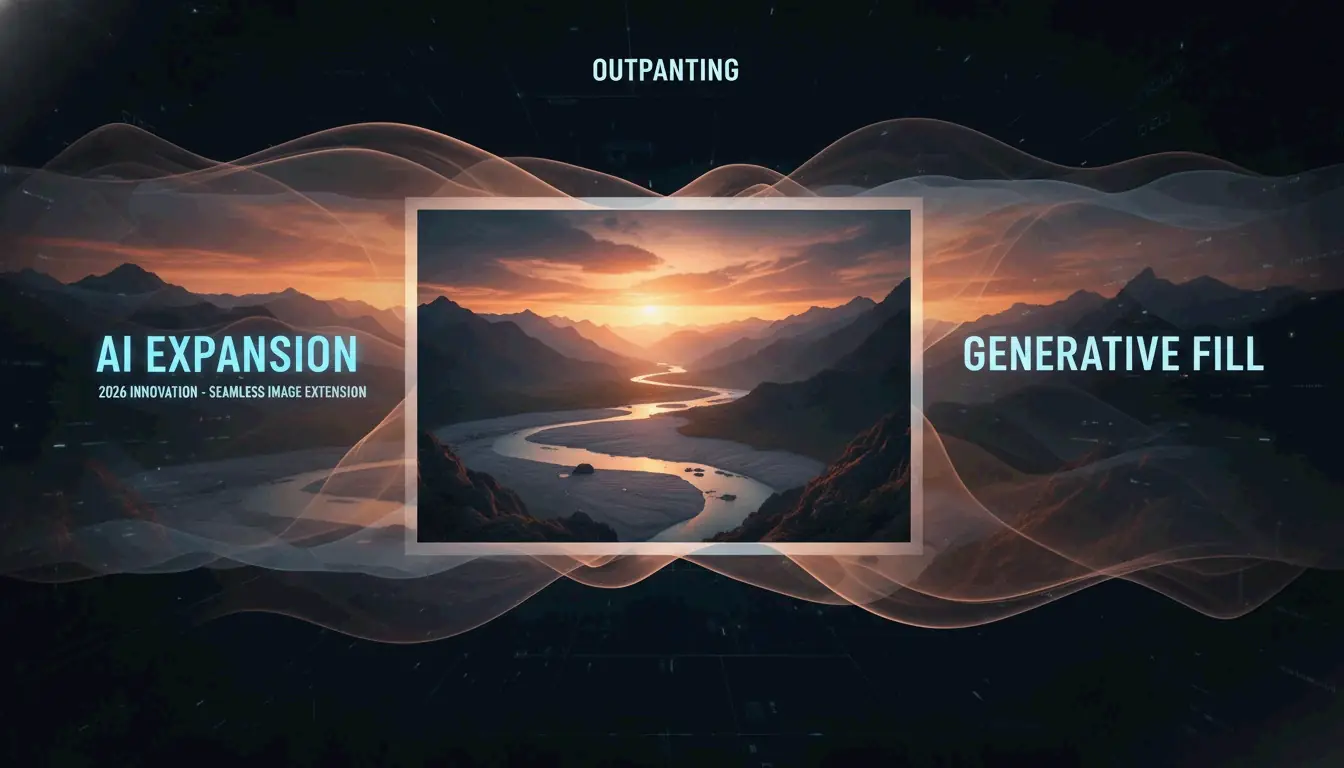
Au-delà de l’étirement : utiliser l’expansion d’image par IA pour s’adapter aux nouvelles dimensions
En 2026, l’expansion d’image par IA (aussi appelée Generative Expand ou Outpainting) a résolu le problème de longue date de l’adaptation des images à des dimensions incompatibles. Au lieu de choisir entre la distorsion et le recadrage, des outils comme Adobe Express ou CapCut utilisent l’IA pour générer de nouveaux pixels sur les bords.
Par exemple, si vous avez un portrait vertical mais qu’il vous faut une bannière horizontale pour un site web, l’IA analyse l’arrière-plan et étend la scène naturellement. Le Smart Cropping (recadrage intelligent) identifie le point focal afin de garder le sujet principal centré et intact.
Quel redimensionneur d’images en ligne choisir pour le traitement par lot ?
Pour traiter plusieurs fichiers, un redimensionneur d’images en ligne dédié est nettement plus rapide que de traiter les images individuellement.
| Outil | Atout principal | Confidentialité | Tarif |
|---|---|---|---|
| BIRME | Vitesse, axé confidentialité | Traitement côté client | Gratuit |
| CapCut | Filtres, mises en page IA | Basé sur le cloud | Offre gratuite disponible |
Le fondateur de BIRME explique : « Acheter Photoshop juste pour redimensionner des images en lot ne semblait pas être l’option la plus judicieuse. » BIRME traite tout dans votre navigateur, en gardant les fichiers sur votre appareil.
Comment redimensionner par lot gratuitement en quelques secondes
Selon BIRME, qui gère plus de 50,000 utilisateurs par mois, le flux de travail optimal est le suivant :
- Glissez-déposez votre dossier d’images sur le site.
- Définissez la largeur et la hauteur cibles.
- La règle des 80% : réglez la qualité de l’image sur 80% — le point idéal où les images paraissent nettes tout en gardant une taille de fichier réduite.
- Téléchargez l’ensemble sous forme d’un seul fichier ZIP.
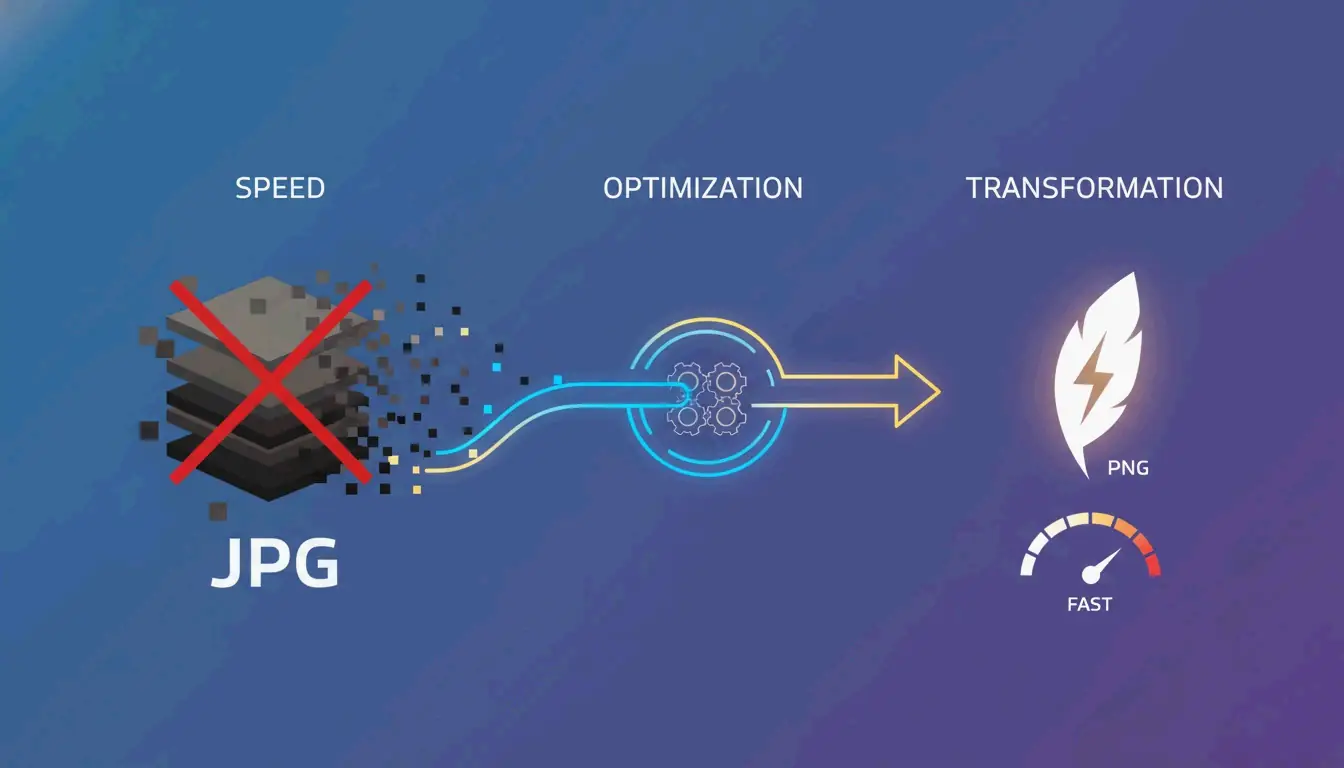
Choisir le bon format : JPEG vs. PNG vs. WebP
Le format que vous choisissez après le redimensionnement affecte directement les performances web.
| Format | Idéal pour | Caractéristique clé |
|---|---|---|
| WebP | SEO et performances web | Compression supérieure au JPEG |
| JPEG/JPG | Photographie détaillée | Taille de fichier réduite, support universel |
| PNG | Arrière-plans transparents, texte net | Qualité sans perte, fichiers plus volumineux |
Prenez également en compte les réglages DPI/PPI. Pour les écrans, 72 DPI suffisent — des valeurs plus élevées n’améliorent pas la qualité d’affichage sur les moniteurs. Pour l’impression, Spin Numbers recommande un minimum de 300 DPI pour maintenir la netteté d’impression.
Coin du développeur : Object-fit et redimensionnement en ligne de commande
Pour les développeurs, le redimensionnement se produit dans le code autant que dans le fichier. La propriété CSS Object-fit contrôle la façon dont une image remplit son conteneur. Les MDN Web Docs indiquent que cover est le réglage le plus utilisé pour les sites responsifs — il maintient le rapport d’aspect en rognant les bords pour s’adapter. Utilisez contain lorsque l’image entière doit être entièrement visible sans aucun recadrage.
Pour les flux de travail en ligne de commande sur macOS, l’outil intégré Sips gère les opérations par lot. Pour l’automatisation multiplateforme, ImageMagick est la référence :
magick mogrify -resize 1200x *.jpg
Cette commande redimensionne chaque JPEG du dossier courant à 1200px de large.
Conclusion
Ajuster et redimensionner des images nécessite d’équilibrer des proportions correctes, des formats modernes comme WebP et l’outil adapté à votre charge de travail. En 2026, l’IA a rendu possible l’expansion des images plutôt que leur étirement, en préservant la qualité à travers différents rapports d’aspect.
Démarrage rapide : Déterminez les dimensions requises par votre plateforme, utilisez BIRME pour les téléversements en masse, ou Adobe Express lorsque des changements de rapport d’aspect pilotés par l’IA sont nécessaires.
FAQ
Quelle est la différence entre redimensionner et compresser une image ?
Le redimensionnement modifie les dimensions en pixels (largeur et hauteur). La compression réduit la taille du fichier (Mo ou Ko) en supprimant les données redondantes ou en abaissant le réglage de qualité. La plupart des optimisations web nécessitent les deux : redimensionner aux bonnes dimensions, puis compresser pour un chargement rapide.
Comment puis-je redimensionner plusieurs images à la fois (redimensionnement par lot) gratuitement ?
Utilisez des outils en ligne comme BIRME.net ou BulkResizePhotos. Téléversez votre dossier d’images, définissez les dimensions cibles et téléchargez l’ensemble redimensionné sous forme de fichier ZIP. Sur macOS, la fonction « Actions rapides » de Finder offre un redimensionnement par lot de base sans ouvrir de logiciel supplémentaire.
Le redimensionnement d’une image va-t-il réduire sa qualité ou sa résolution ?
La réduction d’échelle (rendre une image plus petite) conserve généralement la netteté mais réduit le nombre total de pixels. L’agrandissement (rendre une image plus grande) produit généralement du flou ou de la pixelisation car le logiciel doit créer de nouveaux pixels. Pour de meilleurs résultats, commencez toujours avec un original haute résolution et redimensionnez à la baisse.
À propos de l'auteur
Indie Hacker & DeveloppeurJe suis un indie hacker construisant des applications iOS et web, avec un focus sur la creation de produits SaaS pratiques. Je me specialise dans le AI SEO, en explorant constamment comment les technologies intelligentes peuvent stimuler la croissance durable et l'efficacite.
Dernière révision 1 juillet 2026. Cet article est vérifié pour son exactitude et mis à jour lorsque les outils ou le comportement de la plateforme changent.
Politique éditoriale
Comment ImageLean recherche, teste et met à jour les guides publiés.
Divulgation publicitaire
Comment nous gérons les publicités, les parrainages et la monétisation sur le site.
Approche confidentialité
Pourquoi nos outils privilégient la confidentialité et comment fonctionne le traitement dans le navigateur.