如何縮小圖片而不損失畫質:2026 縮放指南
目錄
把一張 6MB 的手機照片縮小到 300-700KB,方法是將寬度縮放到 1200px 並以 80-85% 的 JPEG 質量儲存。若要獲得最大壓縮率,可轉換為 AVIF 或 WebP。內建工具(預覽、照片)處理單張檔案;BIRME 或 ImageMagick 處理批量。
內建工具:Mac、Windows 與行動端
Mac:預覽
- 在 預覽(Preview) 中開啟影像。
- 工具(Tools) → 調整大小(Adjust Size)。
- 確保「按比例縮放(Scale proportionally)」已勾選。
- 設定目標寬度(例如 1200px)。高度會自動調整。
Windows:照片應用程式
- 在 照片(Photos) 中開啟影像。
- 點擊三點選單(…) → 調整影像大小(Resize image)。
- 選擇一個預設,或輸入自訂尺寸。
Microsoft 小畫家(Paint) 替代方案:首頁(Home) → 調整大小(Resize) → 切換到「像素(Pixels)」→ 設定寬度。
iPhone:HEIC 高效率模式
切換到 設定 → 相機 → 格式 → 高效率(Settings → Camera → Formats → High Efficiency)。照片會儲存為 HEIC 格式——比 JPEG 小約 50%,且無畫質損失。據 Wondershare UniConverter 介紹,這是 iCloud 照片最大的省空間利器。
縮放與壓縮:有什麼區別?
| 操作 | 改變的內容 | 範例 |
|---|---|---|
| 縮放(Resizing) | 像素尺寸(寬 × 高) | 4000px → 1200px |
| 壓縮(Compressing) | 檔案體積(MB/KB) | 6MB → 400KB |
縮放會移除像素。壓縮則是更高效地重新編碼資料。兩者都能減小檔案體積,但縮放帶來的節省最大。
批量 / 批次處理縮放工具
要處理數百張照片,可使用基於瀏覽器或命令列的工具:
| 工具 | 平台 | 批量支援 | 隱私 | 命令 |
|---|---|---|---|---|
| BIRME | 瀏覽器 | 支援 | 本地(JS) | 拖放式圖形介面 |
| Private Convert | 瀏覽器 | 支援 | 本地(JS) | 上傳介面 |
| ImageMagick | 命令列 | 支援 | 完全離線 | magick mogrify -resize 1200x *.jpg |
| sips(macOS) | 命令列 | 支援 | 完全離線 | sips -Z 1200 *.jpg |
BIRME 還提供 智慧裁剪(Smart Cropping) 功能——AI 會偵測焦點,在裁剪邊緣以適應新尺寸的同時保持焦點置中。
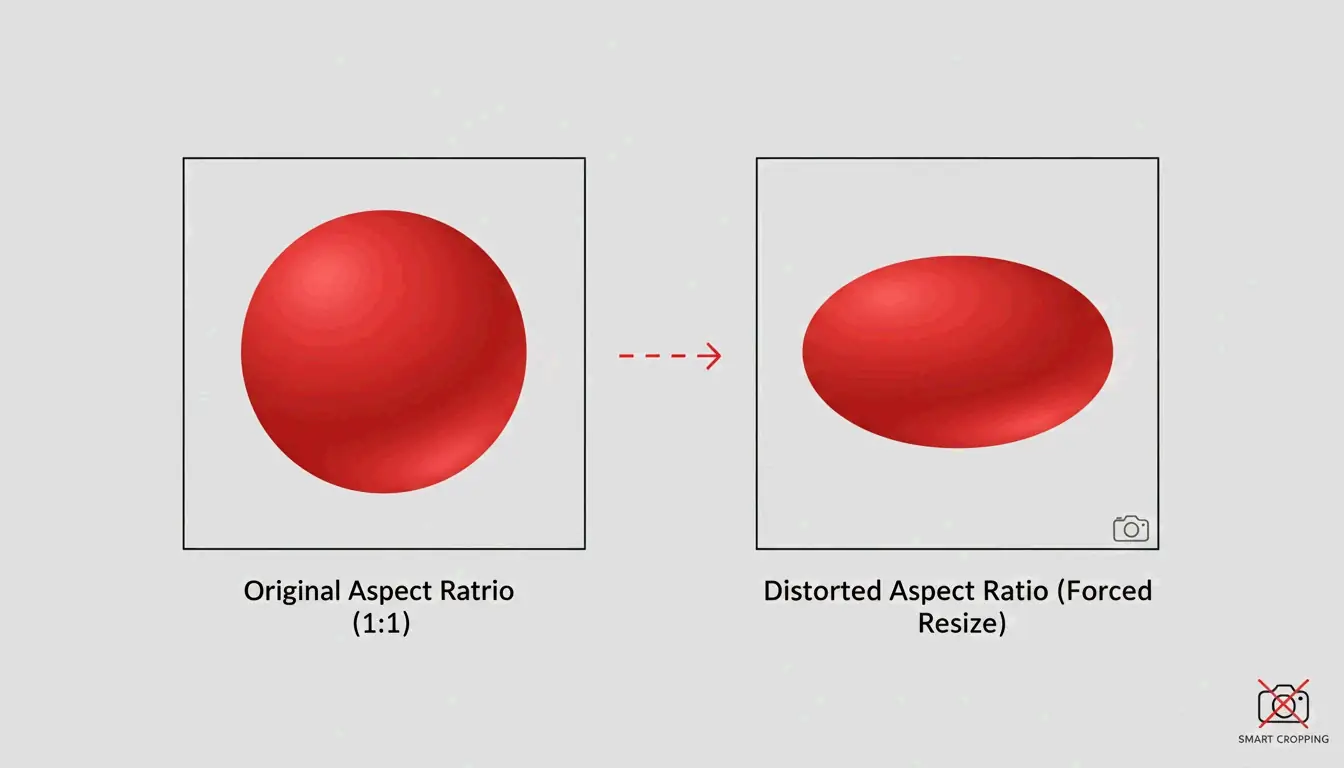
保持寬高比
務必按比例縮放。在不裁剪的情況下強行把一張矩形影像塞進正方形會導致明顯的拉伸。請鎖定寬高比,或使用能自動偵測並保持寬高比的工具。
2026 格式選擇指南
| 目標 | 格式 | 原因 |
|---|---|---|
| iPhone/Mac 本地儲存 | HEIC | 比 JPEG 小 50%,Apple 原生支援 |
| 網站效能 | AVIF 或 WebP | 比 JPEG 小達 50%,瀏覽器支援率 97%+ |
| 最大相容性 | JPEG(80%) | 任何裝置、任何系統都能開啟 |
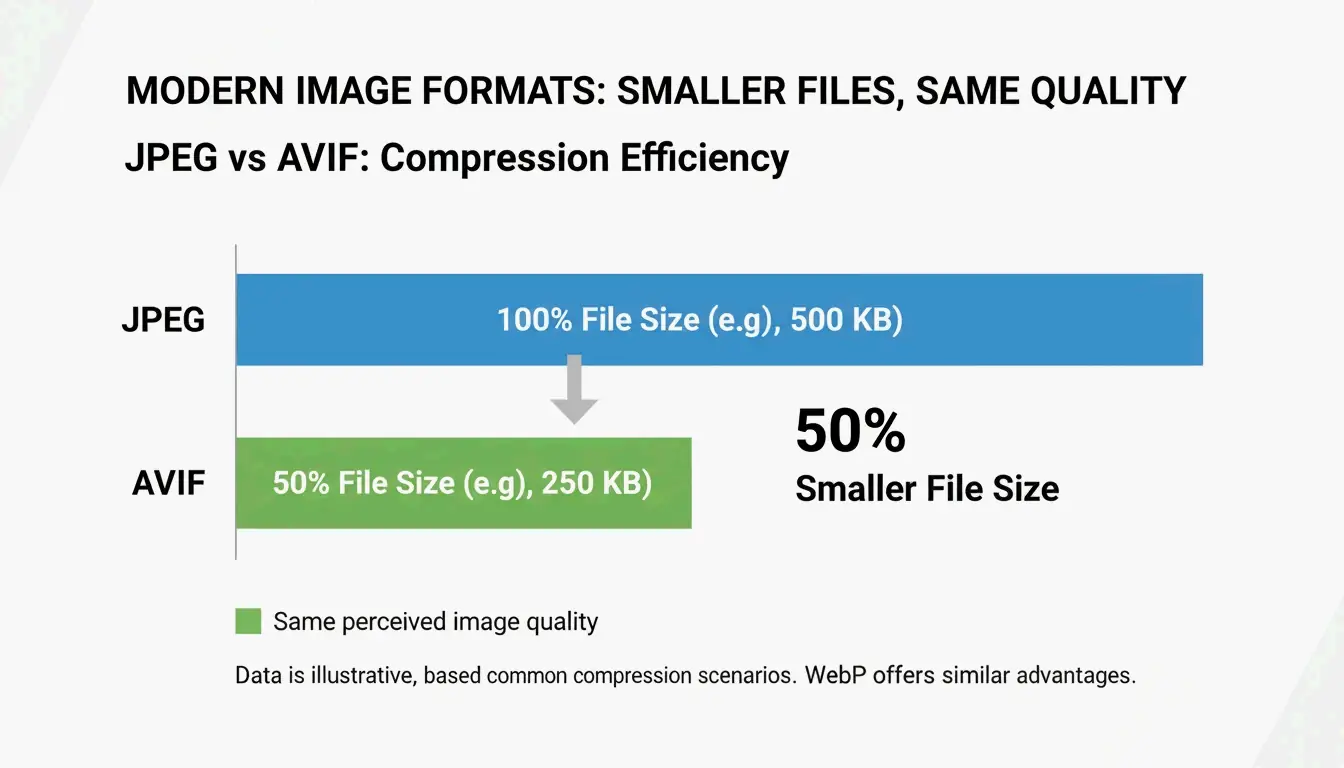
據 Private Convert,在同等視覺畫質下,AVIF 的壓縮率比 JPEG 高 50%。
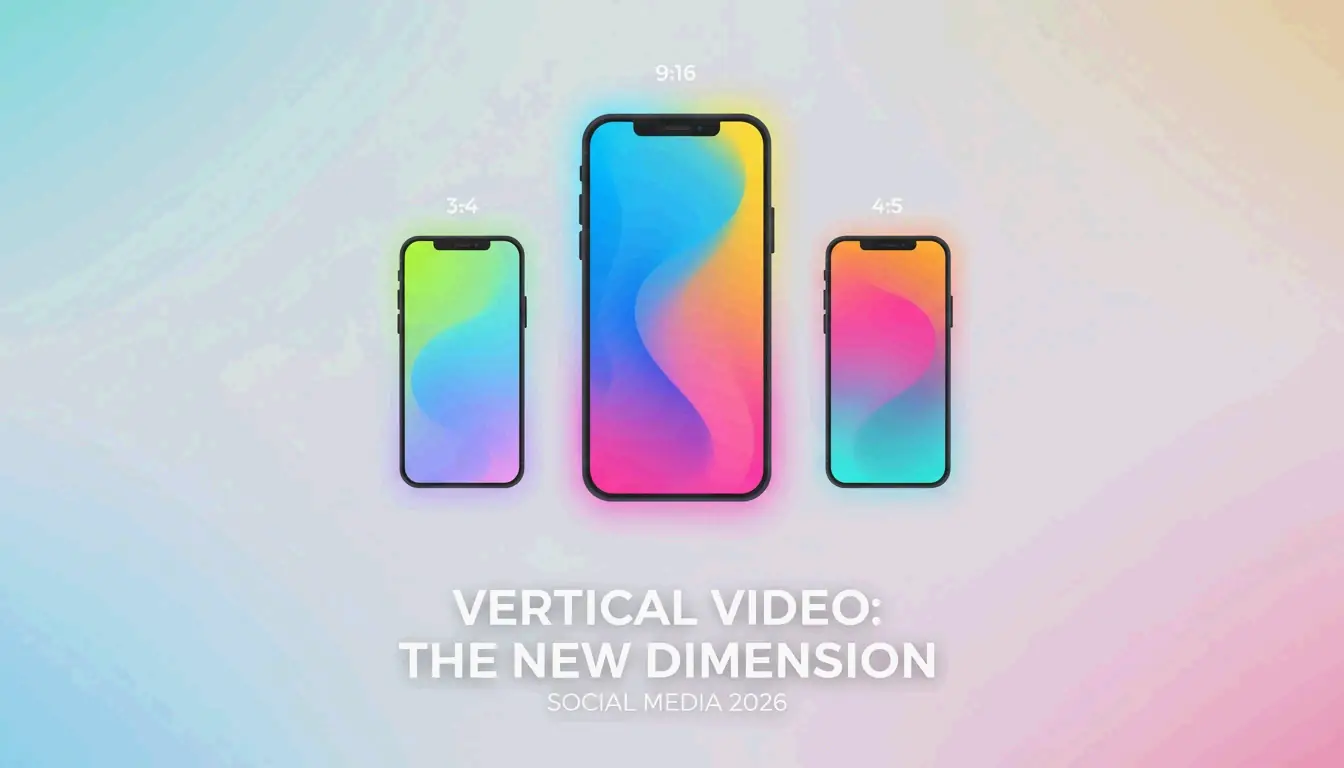
社群媒體尺寸:預縮放以避免自動壓縮導致的模糊
Instagram 和 TikTok 等平台會施加激進的自動壓縮。上傳 4K 檔案往往比上傳平台原生解析度的檔案效果更差。
| 平台 | 推薦尺寸 | 格式 |
|---|---|---|
| Instagram/TikTok Reels | 1080 × 1920 px | JPEG 或 WebP |
| Instagram 方形貼文 | 1080 × 1080 px | JPEG 或 WebP |
| YouTube 縮圖 | 1280 × 720 px | JPEG |
據 TikTok 創作者社群,1080p 上傳往往比 4K 看起來更清晰,因為平台的壓縮引擎處理較小檔案時更乾淨。
結論
分三步縮小圖片:使用內建工具或批次處理器把尺寸縮放到目標值,保持寬高比,並以現代格式儲存。iPhone 儲存請切換到 HEIC;網頁請以 80% 質量轉換為 AVIF 或 WebP;社群媒體請預縮放到平台原生尺寸,以避免自動壓縮產生的偽影。
常見問題
縮放和壓縮有什麼區別?
縮放改變像素尺寸(4000px → 1200px)。壓縮透過重新編碼資料來減小檔案體積,通常不改變尺寸。兩者都能減小檔案體積,但縮放帶來的縮減最大。
為什麼圖片縮小後看起來模糊?
縮小會移除像素。如果你之後再把影像放大,電腦必須插值補足缺失的像素,從而產生柔化感。壓縮導致的模糊則發生在畫質低於 60% 時,會產生塊狀偽影。
不安裝 App,如何在手機上縮放影像?
iPhone:使用 捷徑(Shortcuts) 應用程式建立一個「縮放影像(Resize Image)」捷徑,可從照片的分享選單呼叫。Android:在 Chrome 中開啟 Private Convert 這類基於瀏覽器的工具——在瀏覽器中縮放,無需安裝任何東西。