How to Compress Photos and Save Space – The 2026 Ultimate Guide to Storage Optimization
جدول المحتويات
Compressing photos to save space in 2026 starts with built-in settings like iPhone’s HEIC format or Google Photos’ Storage Saver. For maximum efficiency, use AI-powered tools to convert images to WebP or AVIF, applying lossy compression at 75-85% quality to reduce file sizes by up to 80% while maintaining visual clarity.
Quick Wins: How to Compress Photos and Save Space on Any Device
Shrinking your digital library begins with changing how devices capture and store files. According to Business.com, modern compression tools can cut standard JPEG sizes by 40-60% without visible quality loss. A few system-level settings stop storage bloat before it starts.
Mobile: Enabling High Efficiency Formats
iPhone (HEIC):
1. Open Settings > Camera > Formats
2. Select High Efficiency
3. New photos save as HEIC automatically
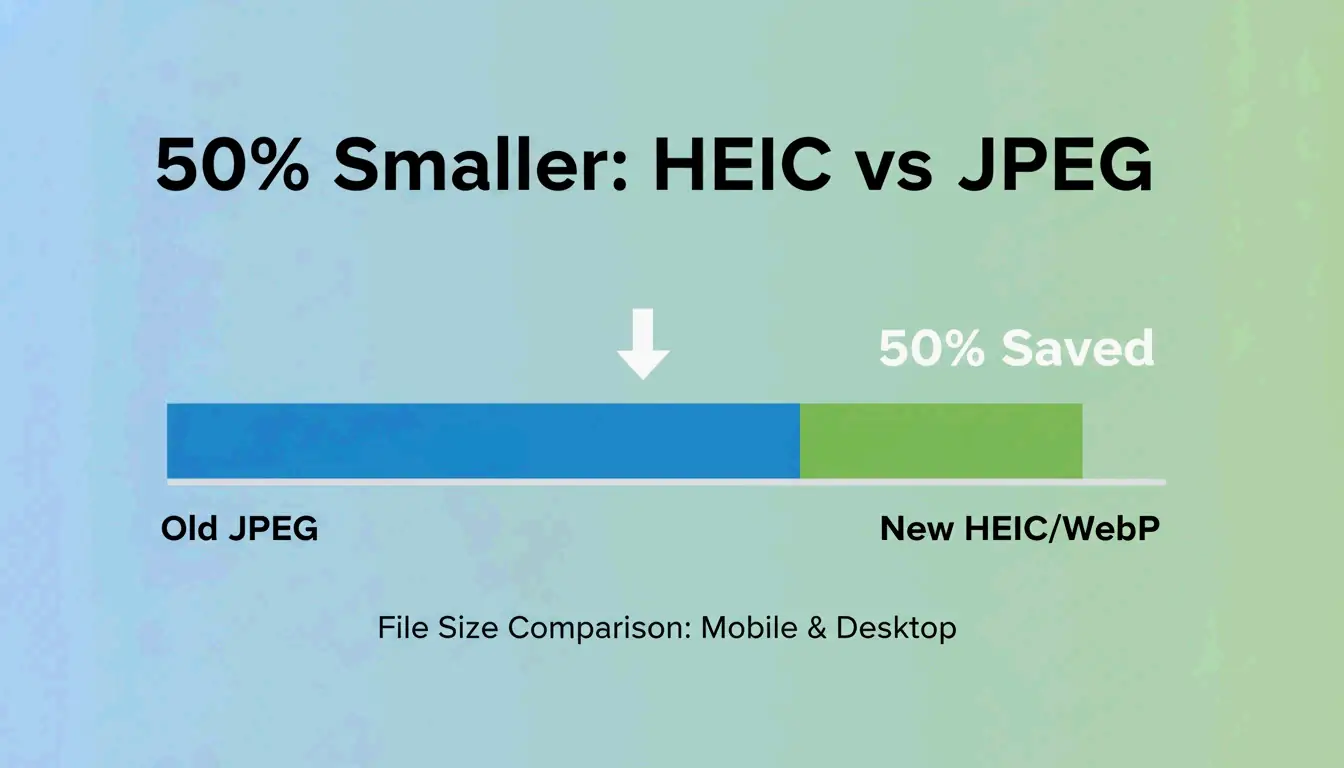
As Popular Outdoor Sports notes, HEIC files are approximately 50% smaller than traditional JPEGs at equivalent visual quality.
Android (Google Photos Storage Saver):
1. Open Google Photos app settings
2. Enable Storage Saver
3. Google auto-compresses uploads to a “High Quality” level
Check your Android camera app’s “Advanced Picture Options” for a high-efficiency format toggle.
Desktop: Quick Resizing without Extra Apps
| OS | Tool | Steps |
|---|---|---|
| Windows | Microsoft Paint | Open image, click “Resize,” lower percentage or pixels, save as JPEG |
| macOS | Preview app | Open photo, go to Tools > Adjust Size, scale down, then File > Export with quality slider |
Smart Storage Cleanup: Downgrade Your Cloud Subscription Tier
Cleaning up your current library can reduce a 2TB cloud plan to a much cheaper 200GB tier. The strategy focuses on finding “bloat” photos — screenshots, accidental burst shots, and duplicates.
Quick cleanup process:
| Step | Action | Tool |
|---|---|---|
| 1. Find junk | Identify blurry shots, large videos | Google Photos / iCloud “Review and Delete” |
| 2. Delete bloat | Remove screenshots, duplicates | Built-in cleanup tools |
| 3. Batch compress | Compress remaining library | Ashampoo Image Compressor |
| 4. Verify savings | Check total storage used | Cloud dashboard |
Alice at Popular Outdoor Sports notes that managing bulky files is becoming a necessity as cloud storage costs rise. Ashampoo Image Compressor supports drag-and-drop batch processing of thousands of images, cutting total size by up to 80%.
Lossy vs. Lossless: Which Compression Method Should You Choose?
| Method | How It Works | Size Savings | Best For |
|---|---|---|---|
| Lossy | Removes data invisible to the human eye | 50-80% | Social media, cloud backups, JPEG, HEIC |
| Lossless | Preserves every pixel, removes redundancy | 20-40% | Logos, text graphics, PNG, TIFF, archival |
PDFFlare reports that lossy settings can save 50-80% of storage space while maintaining acceptable visual quality for social media and cloud backups.
Quality directly affects business outcomes. Salsify’s 2025 Consumer Research Report found that 42% of shoppers abandon a purchase if images are missing or look low-quality. In 2026, WebP and AVIF offer significantly better compression-to-quality ratios than JPEG.
2026 format comparison:
| Format | Compression Efficiency | Visual Quality | Use Case |
|---|---|---|---|
| JPEG | Baseline | Good | Universal compatibility |
| HEIC | ~50% smaller than JPEG | Equivalent to JPEG | Apple ecosystem |
| WebP | 25-30% smaller than JPEG | Better than JPEG | Web performance |
| AVIF | 30-50% smaller than JPEG | Best in class | Modern web, maximum savings |
AI-Enhanced Compression: The 2026 Tech Revolution
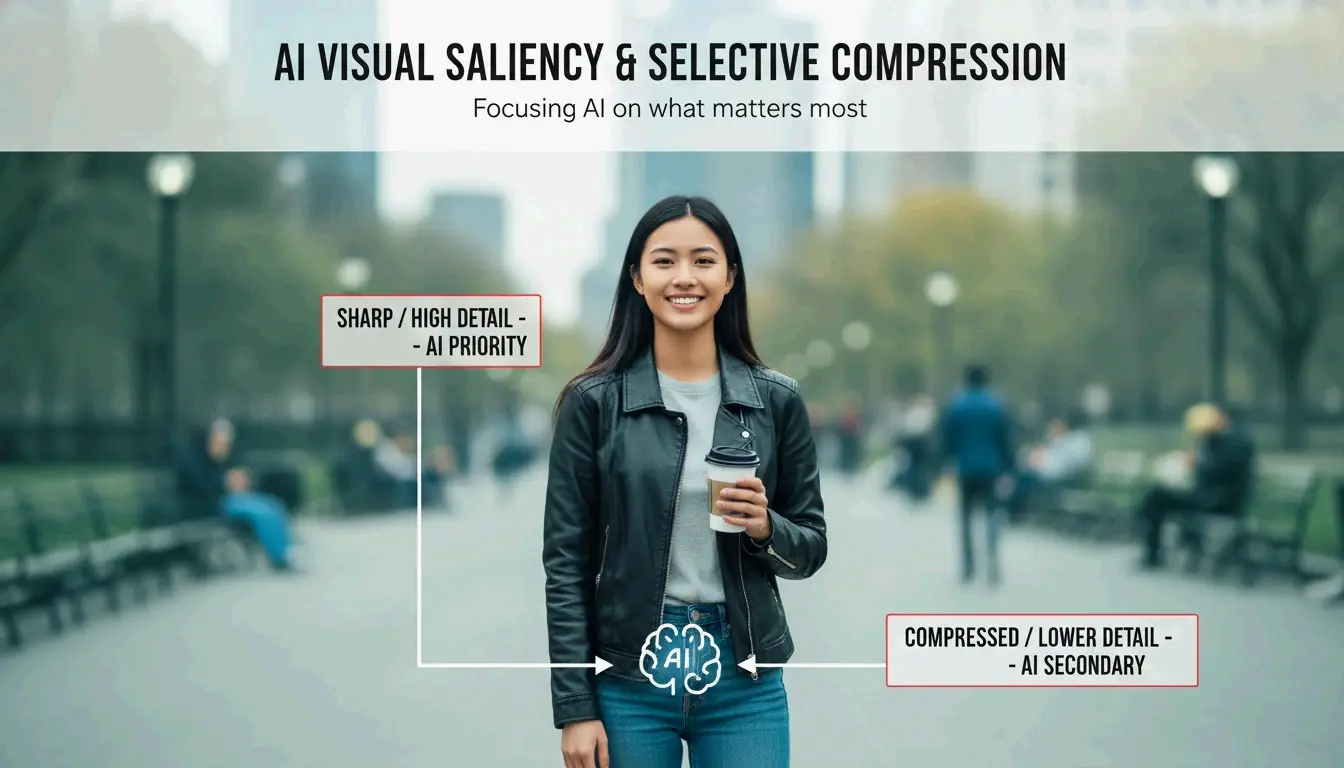
The key shift in 2026 is Visual Saliency AI. Unlike traditional algorithms that compress the entire image uniformly, AI tools identify the most important parts — faces, foreground subjects — and keep those areas sharp while aggressively compressing backgrounds where artifacts are less noticeable.
AI compression tool landscape (2026):
| Tool | Type | Key Feature |
|---|---|---|
| Adobe Photoshop | Professional | Neural filters for precision web optimization |
| Ashampoo Image Compressor | Consumer/batch | Processes huge DSLR photos (50-75MB each) into compact files |
AI compression can shrink 50-75MB DSLR photos to a fraction of their original size while preserving “hero” elements — the subject, key details, and visual impact of the shot.
Compressing for Specific Needs: Web, Email, and Forms
Different platforms require different compression strategies:
Web SEO
To meet Google’s Core Web Vitals (LCP) standards, images must load fast. Illustrate Digital reports that a one-second load time on B2B sites leads to conversion rates five times higher than sites taking 10 seconds.
| Target | Recommended Setting |
|---|---|
| Hero images | Under 200KB, WebP or AVIF |
| Thumbnails | Under 30KB |
| Quality | 75-85% |
Government Forms
Official sites impose strict limits. IRCC Canada guidelines require files under 2MB, recommending scan resolution at 96 DPI.
Email Attachments
Keep quality at 70-80% to maintain individual images under 1MB, staying well within the common 25MB attachment limit.
| Use Case | Quality | DPI | Max File Size |
|---|---|---|---|
| Web SEO | 75-85% | 72 | Under 200KB (hero) |
| Government forms | 80% | 96 | Under 2MB |
| 70-80% | 72 | Under 1MB per image |
Conclusion
Compressing photos no longer requires choosing between quality and size. Modern formats like HEIC and AI-based tools deliver both. By switching to WebP and AVIF, you can cut storage needs by up to 80% without losing visual detail. Start by enabling “High Efficiency” in your phone’s camera settings, then use an AI batch compressor to audit your cloud storage. These small changes save money on monthly subscriptions and ensure room for new photos.
FAQ
Does compressing a photo reduce its print quality?
Yes, when using aggressive lossy compression. For physical prints, maintain a high resolution — at least 300 DPI. Use lossless compression or high-quality JPEG settings (90%+) to ensure the printed image remains sharp and free of pixelation artifacts.
How do I batch compress multiple photos on a Mac?
Use the native Quick Actions feature in Finder:
1. Select all photos to compress
2. Right-click and navigate to Quick Actions > Convert Image
3. Choose “Small” or “Medium” size
4. Select your preferred format
This saves significant space instantly without opening a separate application.
What is the difference between HEIC and JPEG for storage?
HEIC (High Efficiency Image Format) uses HEVC encoding to produce files roughly 50% smaller than JPEGs at the same visual quality. JPEG offers broader compatibility with older software, while HEIC is the preferred standard for modern Apple and Android ecosystems to maximize storage efficiency.
عن المؤلف
مطور مستقلأنا مطور مستقل أقوم ببناء تطبيقات iOS وتطبيقات الويب، مع التركيز على إنشاء منتجات SaaS عملية. أتخصص في AI SEO، وأستكشف باستمرار كيف يمكن للتقنيات الذكية أن تدفع النمو المستدام والكفاءة.
آخر مراجعة 16 مايو 2026. تتم مراجعة هذه المقالة للدقة وتحديثها عند تغير الأدوات أو سلوك المنصة.